Mist at sunrise does something no other weather condition can: it turns an ordinary field, riverbank or housing estate into something quiet and half-imagined. It also disappears fast. The window between first light and the sun burning through is often twenty minutes, sometimes less, and it rewards photographers who arrived early with their settings already worked out. This is a practical guide to getting those shots — what to set, where to stand, and how to arrange the frame when the world is doing half the work for you.
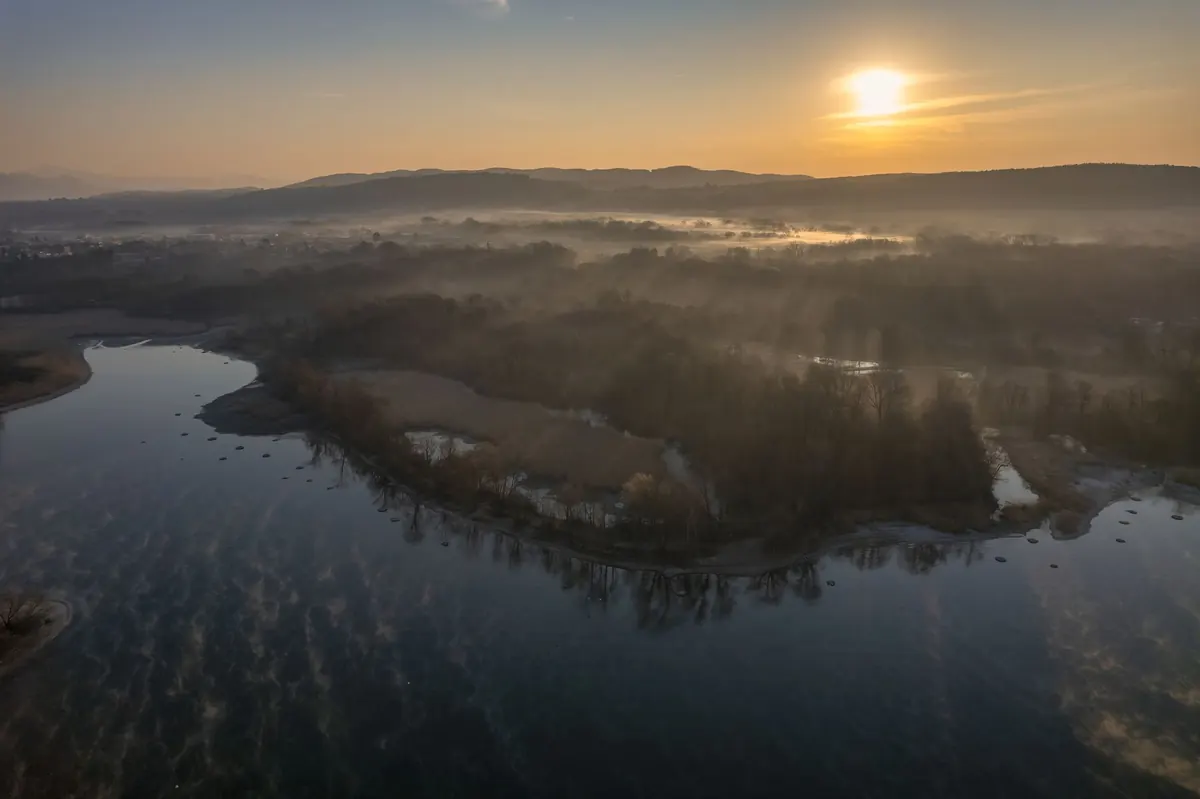
Not all mist behaves the same way, and knowing which sort you have changes how you shoot it. Radiation fog forms overnight on clear, still evenings, when the ground loses heat and the air above it cools to its dew point. It pools in valleys, sits low over fields and drains downhill, so a dip in the landscape can be five times thicker than the ridge above it. Mist over water in autumn and early winter is different again: when the water is warmer than the air above it, moisture condenses into ribbons that drift and lift, and the surface often stays visible underneath.
Wind is the enemy of good mist. Anything above a light breeze mixes the air and turns a defined layer into a grey wash. Check the forecast the night before for clear skies, light winds and a decent gap between air temperature and dew point. Then find a high vantage point nearby — a hill, a bridge, a footpath above a valley — because mist is almost always better photographed from slightly above than from inside.
Work in manual mode or aperture priority, and accept that you will need a tripod. Sunrise mist is dim, and raising ISO to 6400 to hand-hold will cost you the fine detail that makes these photographs work. A sturdy tripod, a remote release or the two-second timer, and image stabilisation switched off are all sensible defaults.
A reasonable starting point:
Focus is the other trap. Mist reduces contrast, and contrast is what autofocus hunts for. Switch to single-point autofocus and place the point on a hard edge — a fence post, a tree trunk, a rock — or focus manually using live view magnification. Check the histogram rather than the back of the screen; if it is piled against the right edge, pull the exposure back a third of a stop.
Where the sun sits relative to your lens matters more than any other single choice.
With the sun behind you, mist looks soft, pale and almost flat. It is easy to expose and good for delicate, low-contrast scenes — frost on grass, a still lake, bare branches. It is also the least dramatic option, so give the frame strong shapes and a clear subject.
With the sun to your side, you get the best of both worlds. Light rakes across the scene, picking out individual trees, hedgerows and fence lines in relief, while the mist behind them stays soft. This is usually the most reliable direction for layered landscape shots.
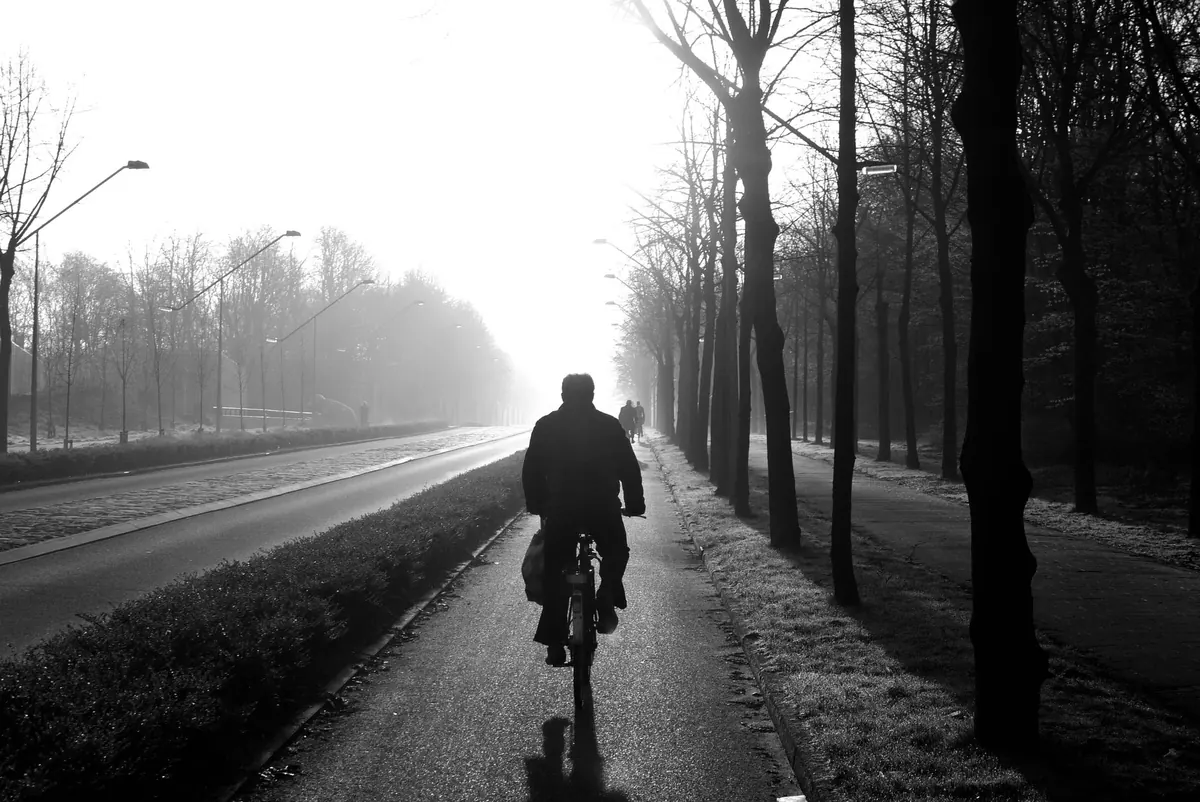
Shooting into the sun is the most rewarding and the hardest. Mist scatters light, so a low sun turns the whole scene into a glowing, luminous haze with long shadows stretching towards you. A subject between you and the sun becomes a clean silhouette. Expect flare: use a lens hood, shield the front element with your hand, and try stopping down to f/11 or f/16 for a defined sunstar if the sun is clear of the mist.
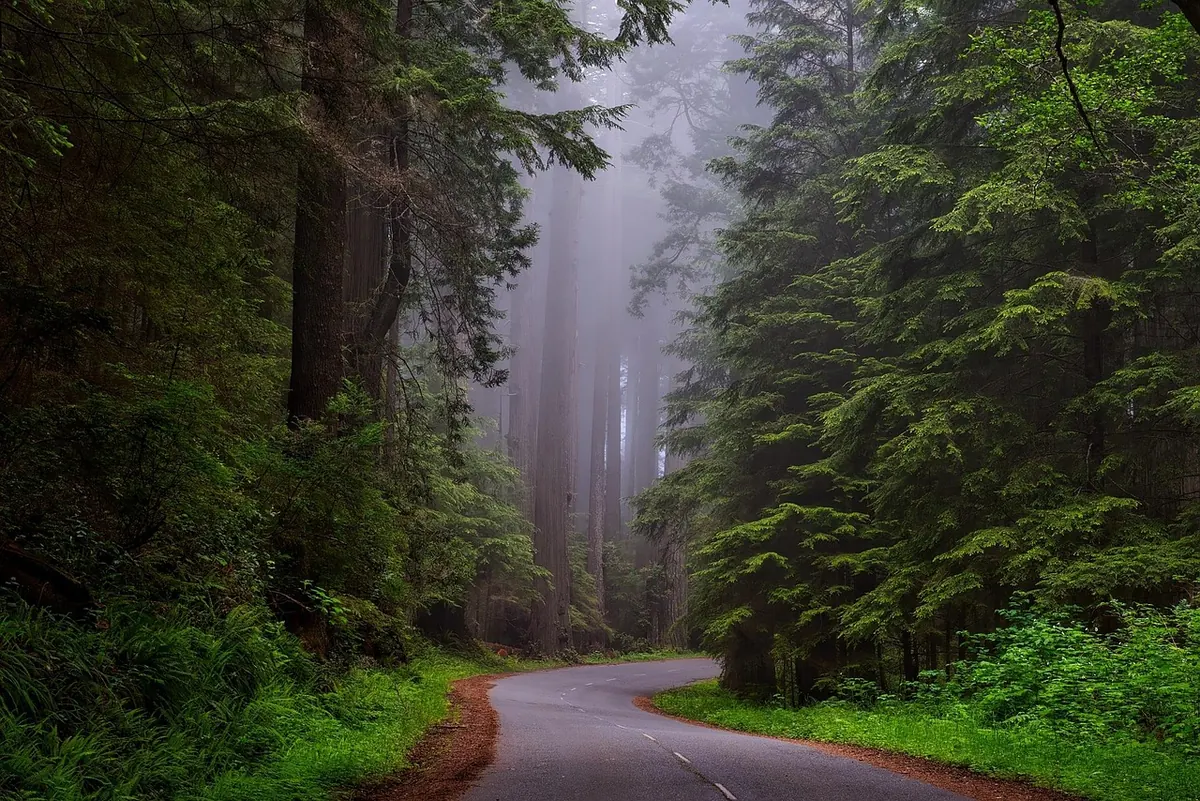
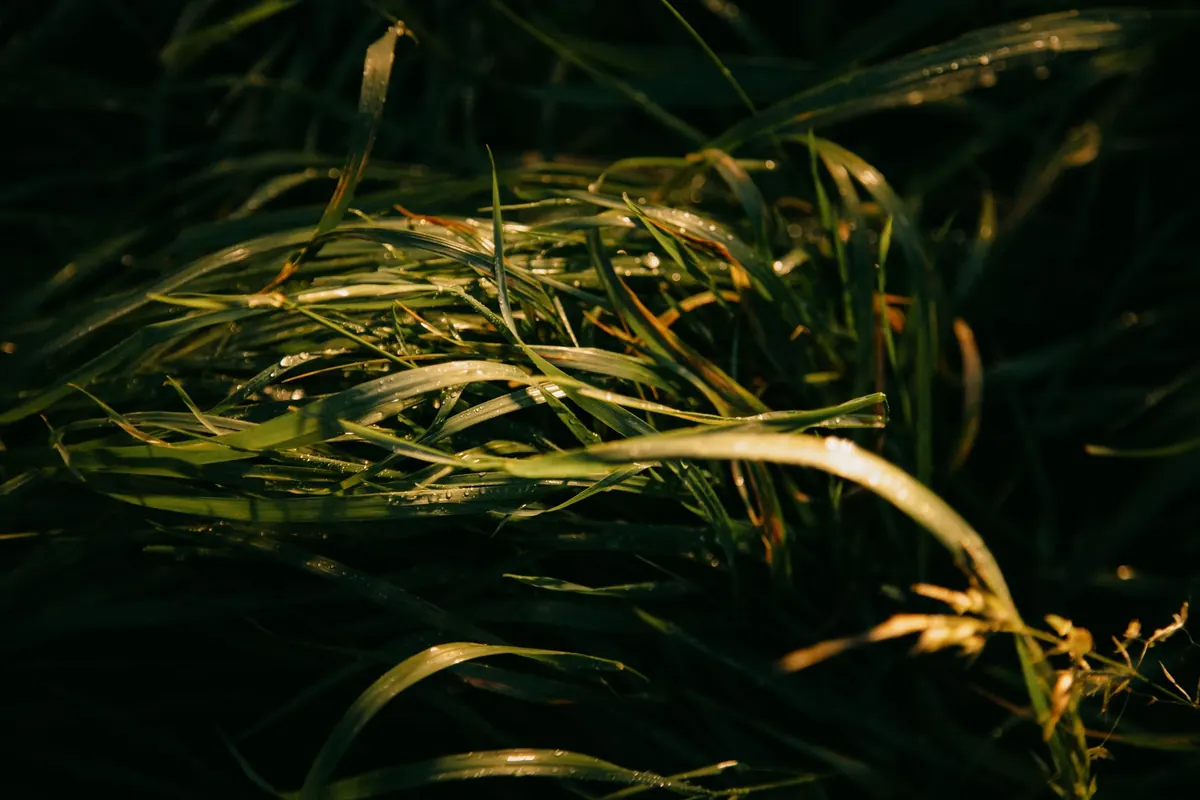
Mist creates natural depth because it separates near objects from far ones. Use that. The classic structure is a dark, detailed foreground — reeds, a gate, wet stones — a mid-ground subject sitting in the mist, and pale, fading distance behind it. Each layer gets lighter as it recedes, and the eye travels through the frame without effort.
A few approaches that consistently work:
Mist means damp, and damp means condensation. Leave your bag closed until you are ready, keep a microfibre cloth in a pocket rather than in the bag, and let your camera acclimatise in the car boot rather than bringing it straight from a warm house into cold air. Cold also drains batteries quickly, so carry a spare somewhere inside your coat. Waterproof over-trousers and a hat are not luxuries at 5am in October; standing still for an hour is much colder than walking.
Mist needs restraint. Lift the shadows slightly, add a touch of contrast and clarity to the foreground only, and use any dehaze slider sparingly — it strips the atmosphere you got up early for. Keep the highlights soft rather than clipped, let the whites stay bright but not blown, and nudge white balance towards blue for a cold, still feeling or towards amber for a warmer one. Do not chase perfect black in the shadows; misty scenes are meant to look slightly veiled.
Arrive forty minutes before sunrise, while it is still dark enough to see the mist forming. Set the tripod up, frame roughly, and take a test exposure at ISO 800 to check your composition before the light arrives. Then drop to ISO 100, set f/11, and shoot a bracket from two stops under to one stop over. As the sun rises, keep checking the histogram and be prepared to change position — walking twenty metres can change a flat frame into a backlit one. Stay ten minutes after the mist starts to lift, too; the last wisps dissolving against a bright sky are often the best frames of the morning.
Photo: Rino Adamo / Pexels